 Save
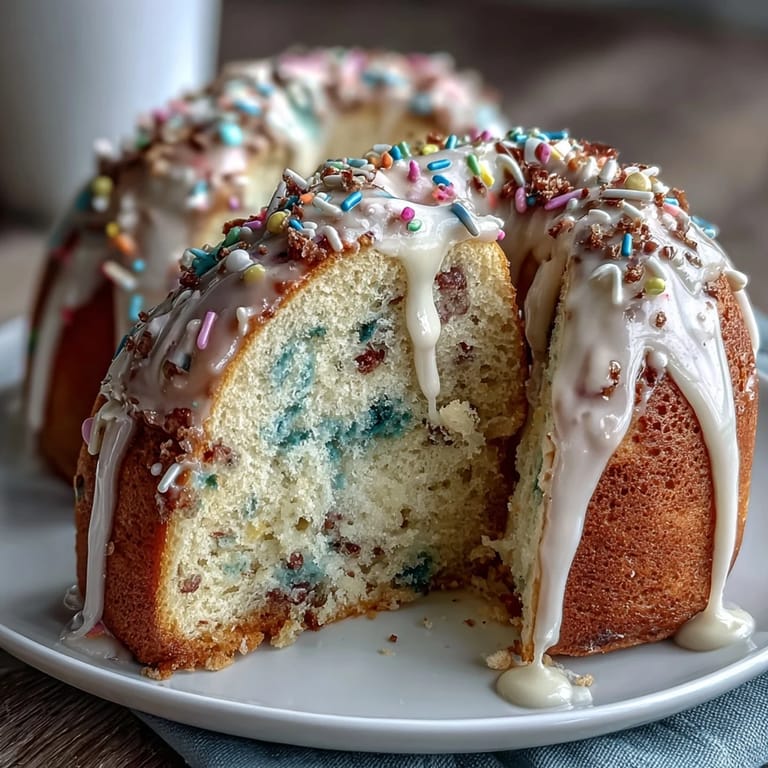
Save My neighbor showed up at my door one April afternoon with a box of pastel macarons and a wild idea: we should throw a spring garden party. I'd never made a celebration cake before, but something about her enthusiasm made me want to try. That evening, I found myself at the grocery store grabbing sprinkles and food coloring gels, imagining what it would feel like to frost something beautiful. This cake became my answer to her invitation, and honestly, watching her face light up when she saw those swirled pastel colors made the whole messy adventure worth it.
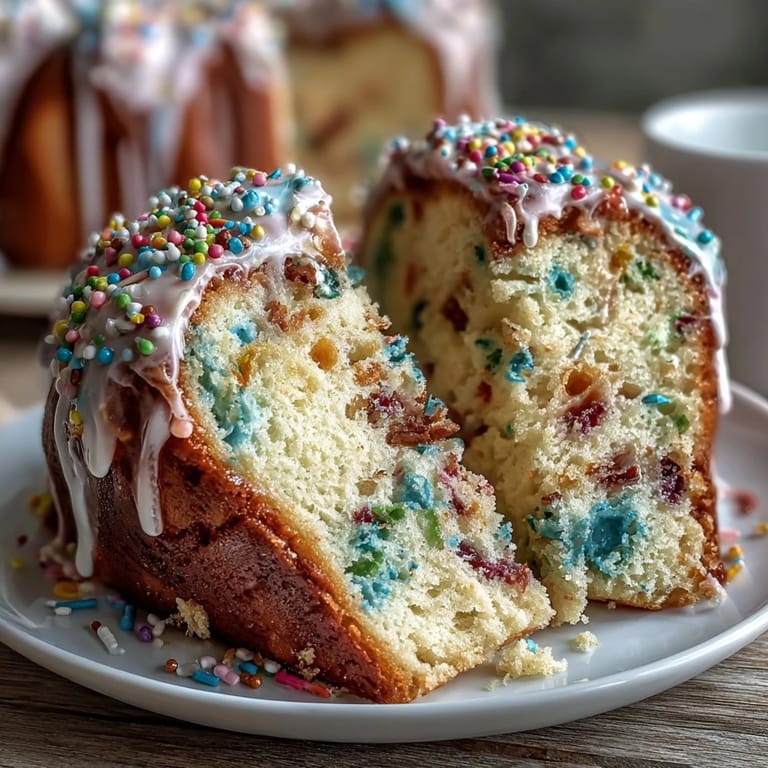
I'll never forget the quiet moment right before serving when my friend helped me set the cake on the table. She stepped back, tilted her head, and said it looked like spring itself was sitting there. We both laughed because honestly, the colors had shifted during frosting—what I'd planned as distinct pastels had become this beautiful swirled mess. But somehow that made it better, more honest, like something that belonged at a real gathering instead of a magazine.
Ingredients
- All-purpose flour: The foundation that keeps everything tender and light; sifting it with the baking powder and soda ensures your cake rises evenly without overmixing.
- Baking powder and baking soda: Work together to give you that cloud-like crumb that practically melts on your tongue.
- Unsalted butter: Room temperature is non-negotiable here because cold butter won't cream properly, and creaming is where all the air happens.
- Granulated sugar: This is what gets beaten into the butter to create lift; don't skip the full 3 minutes of beating or your cake will be denser than intended.
- Eggs: Also room temperature, which helps them blend smoothly into the batter and create a silky texture.
- Vanilla extract: Use pure, not imitation, because this cake deserves that warm, genuine flavor.
- Milk and sour cream: The sour cream adds a subtle tang and keeps the crumb incredibly moist; this is the secret weapon.
- Rainbow sprinkles: Choose jimmies over nonpareils because they won't bleed their color into the batter and create muddy swirls.
- Butter for buttercream: Soft and spreadable makes all the difference when you're trying to achieve that cloud-like consistency.
- Powdered sugar: Sift it before adding to avoid lumps that will never fully disappear, no matter how long you beat.
- Food coloring gels: Gels are superior to liquid because they won't thin out your buttercream like water-based colors do.
Tired of Takeout? 🥡
Get 10 meals you can make faster than delivery arrives. Seriously.
One email. No spam. Unsubscribe anytime.
Instructions
- Set the stage:
- Preheat your oven to 350°F and prep those pans with parchment paper—this step feels small but saves so much heartbreak when you're trying to turn out warm cake layers.
- Build your dry foundation:
- Whisk the flour, baking powder, baking soda, and salt together in a bowl; this distributes the leavening agents evenly so every bite rises the same way.
- Cream the magic:
- Beat butter and sugar together until it looks pale and fluffy, almost like whipped cream; this usually takes about 3 minutes with an electric mixer, and you'll see the texture change right before your eyes.
- Marry in the eggs:
- Add eggs one at a time, beating well after each one goes in; this takes patience but creates a smoother, more emulsified batter that bakes beautifully.
- Prepare your wet base:
- Whisk milk and sour cream together until they're combined; they don't need to be perfectly smooth, just friendly with each other.
- The alternating dance:
- Add the flour mixture and milk mixture to the butter mixture in three parts, starting and ending with flour; this prevents overworking the batter, which would make your cake tough instead of tender. Mix gently until just combined.
- Fold in the color:
- Use a rubber spatula to gently fold in the sprinkles—this protects their color and keeps them from getting crushed and muddying your batter.
- Divide and smooth:
- Split the batter evenly between your prepared pans and smooth the tops with an offset spatula so they bake at the same rate.
- The wait:
- Bake for 28 to 32 minutes until a toothpick inserted in the center comes out clean; every oven is different, so start checking at 28 minutes.
- Cool with intention:
- Let the cakes rest in their pans for 10 minutes before turning them out onto a cooling rack; this waiting period lets them set just enough so they won't crumble.
- Butter to perfection:
- Beat room-temperature butter until it's smooth and creamy, which takes about 2 minutes and turns it into a pale, pillowy base.
- Sugar integration:
- Add powdered sugar gradually while mixing on low to avoid a flour-cloud explosion in your kitchen; patience here saves cleanup.
- Lighten it up:
- Add milk, vanilla, and salt, then beat on high for 2 to 3 minutes until the buttercream becomes fluffy and spreadable.
- Color your dreams:
- Divide the buttercream into four bowls and add a drop or two of gel food coloring to each; gel is more concentrated than liquid, so a little goes a long way.
- The final flourish:
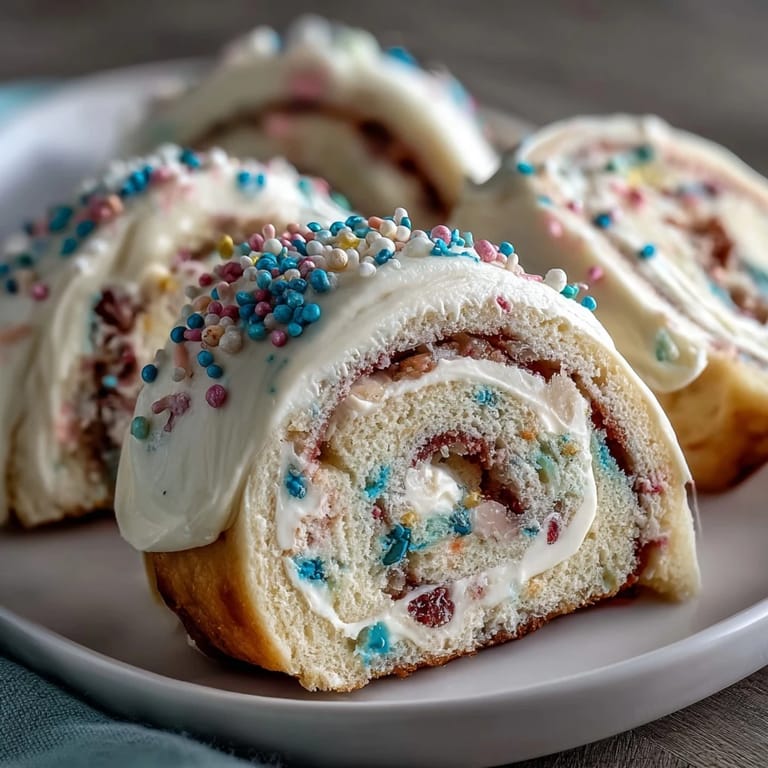
- Dollop or pipe your colored buttercream onto the cooled cake layers and swirl the colors together for that dreamy pastel effect.
 Save
Save What I didn't expect was how this cake would become a tradition. Now every spring, someone texts me asking if I'm making it again, and I realize that food does something strange and wonderful—it connects moments and people in ways that feel almost like magic. This cake, with its soft layers and swirled colors, somehow turned into our thing.
Why Sprinkles Matter More Than You Think
The first time I made this, I grabbed whatever sprinkles were on sale. They were the cheap nonpareils, and within minutes of folding them in, the batter turned a murky, sad beige. I learned that day that jimmies—the longer, rod-shaped sprinkles—hold their color because of their coating, while nonpareils basically dissolve and bleed everywhere. It's one of those kitchen lessons that feels silly until you live it, and then you never forget it. Now I specifically hunt for jimmies, and the batter stays a pale vanilla with actual pops of color throughout.
The Sour Cream Secret
I almost skipped the sour cream the second time I made this because I thought it sounded heavy. My mom laughed and told me that's where the moisture lives in this cake, and she was right. That subtle tang keeps everything tasting fresh and prevents that dry cake situation that happens when you've overworked the flour. It's also what makes the crumb stay soft the next day instead of turning stale.
Decorating with Confidence
I used to think you needed professional piping skills to make buttercream look beautiful, but this cake proved me wrong. You can dollop the colored buttercream onto the layers with a spoon and let the swirls happen naturally, and it genuinely looks better than when I tried to be too precise. The key is not overthinking it; let the pastel colors sit next to each other and blend where they want to.
- If you don't have piping bags, a simple spoon or offset spatula works just fine for achieving those dreamy swirled effects.
- Let the cake layers cool completely before frosting or the buttercream will melt off and you'll end up with a sliding mess.
- Make the buttercream right before you're ready to frost; it firms up as it sits and becomes harder to spread smoothly.
 Save
Save This cake is proof that simple ingredients, when treated with a little care and attention, turn into something that feels special. Make it for someone you want to celebrate, or make it just because spring deserves something beautiful on the table.
Recipe FAQs
- → What type of sprinkles work best?
Use jimmies rather than nonpareils to avoid color bleeding and maintain the cake's soft texture.
- → Can I substitute sour cream?
Yes, Greek yogurt can be used as a substitute to provide similar moisture and tang.
- → How should the pastel buttercream be colored?
Divide the buttercream into portions and tint each with gel food coloring for vivid pastel shades without thinning the frosting.
- → What baking pans are ideal?
Two 9-inch round pans work well to achieve even layers and proper baking time.
- → How do I ensure a moist cake crumb?
Alternating flour mixture with milk and sour cream and avoiding overmixing helps keep the crumb tender and moist.