 Save
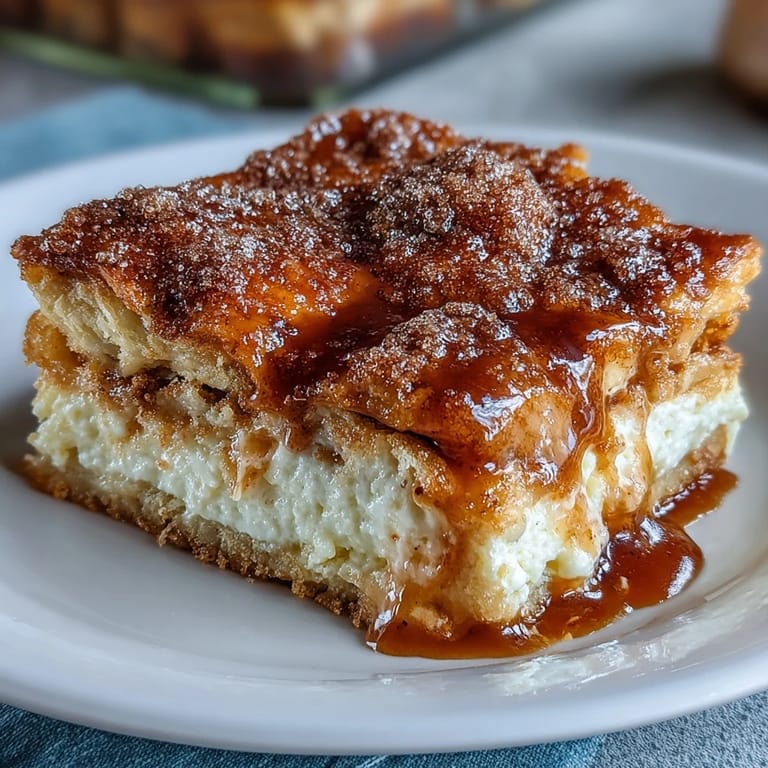
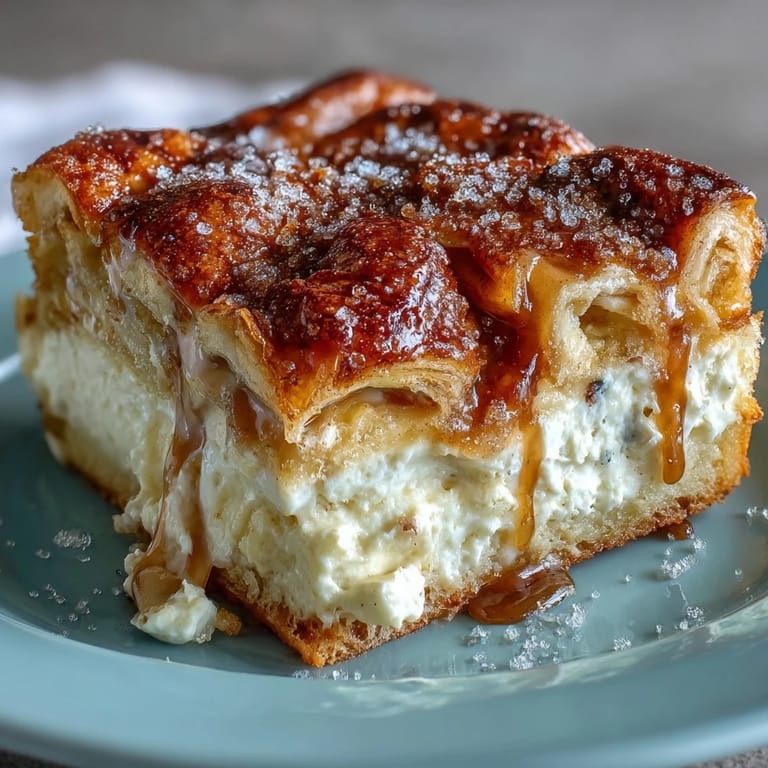
Save Some desserts have a way of filling the kitchen with such warmth you almost forget the world outside. When I first made these Sopapilla Cheesecake Bars, the buttery scent and gentle hiss of melting sugar reminded me more of a bustling bakery than my own apartment. I still recall laughing at how impatient I was, watching the oven timer like a hawk. There's something thrilling about layering ingredients so familiar, yet ending up with something unexpectedly special. For Cinco de Mayo or just a regular Tuesday, these bars have never let me down.
I once made a double batch of these bars on a rainy spring afternoon for my neighbors, hoping to share a little cheer. The whole building seemed to drift by for a slice, lingering in the hall just to ask about the smell. The memory of sticky cinnamon fingers and laughter over mismatched plates sticks with me far more than any perfect photo could.
Ingredients
- Refrigerated crescent roll dough: It bakes into a magically crisp base and top—just unroll, but be gentle so it doesn't tear.
- Cream cheese: Make sure it's fully softened or you'll struggle to get that dreamy filling super smooth.
- Granulated sugar: Adds the classic sweetness in both the filling and the sparkling topping.
- Vanilla extract: Just a little makes the whole filling taste richer and homemade.
- Unsalted butter: Pouring it over the top crust gives that golden, almost caramel edge after baking.
- Ground cinnamon: Essential for that familiar sopapilla flavor—don't be afraid to sprinkle generously.
Tired of Takeout? 🥡
Get 10 meals you can make faster than delivery arrives. Seriously.
One email. No spam. Unsubscribe anytime.
Instructions
- Get the oven ready:
- Set your oven to 350°F (175°C) and lightly grease a 9x13-inch pan—I've tried skipping this and regretted every sticky moment after.
- Layer the base:
- Carefully unroll one can of crescent dough, pinching seams closed, and press into the bottom of your pan as evenly as possible.
- Mix cheesy filling:
- In a bowl, beat the softened cream cheese, 1 cup sugar, and vanilla until it feels cloud-like—if you sneak a taste here, I won't judge.
- Spread the goodness:
- Dollop and smooth the creamy filling over your dough base, reaching all four corners.
- Add the top layer:
- Unroll the second can and lay it gently over the filling, patching together if it breaks—nobody will know once it's baked.
- Melt and pour:
- Spoon melted butter evenly over the top, enjoying the shine as it coats the dough.
- Sprinkle and spice:
- In a small bowl, combine 1 3 cup sugar and cinnamon, then rain it liberally over the buttery surface.
- Bake to perfection:
- Slide the pan onto the middle rack and bake 28–32 minutes, until the top is golden with tiny sugar bubbles.
- Cool and slice:
- Let the bars cool for at least 30 minutes so the layers set—hardest part, but so worth the wait.
 Save
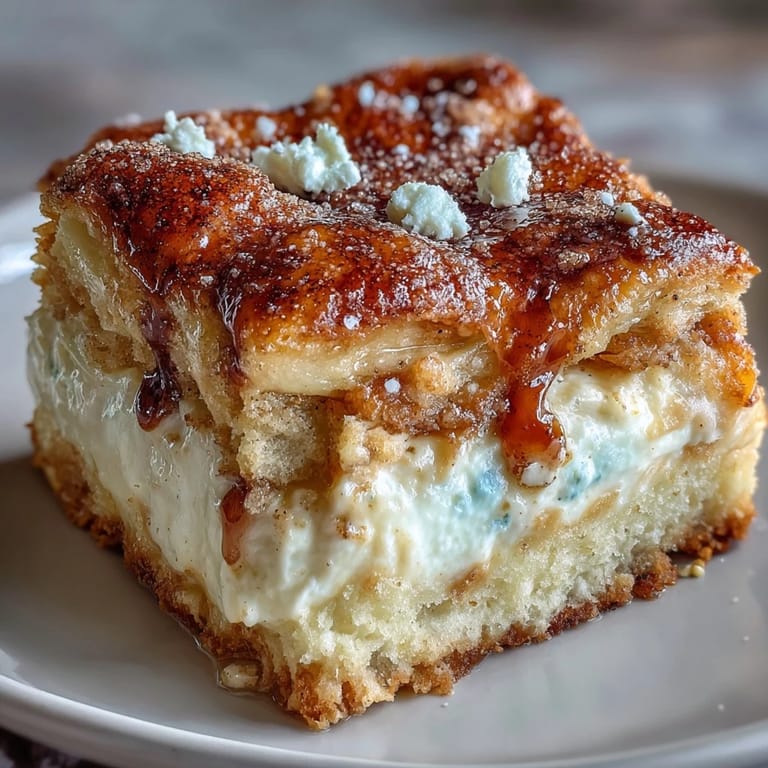
Save The first time I served these to my family, everyone reached for seconds before the plates were cleared. In that moment, a simple dessert became the highlight of our celebration, and watching the bars disappear felt like a little victory lap in my own kitchen.
When To Make These Bars
They're my go-to when I need something dependable for sharing, especially for potlucks or festive gatherings. I’ve even wrapped up leftovers as thank you gifts, and every time, the response is the same: wide eyes and requests for the recipe.
Flavor Twists That Work
A sprinkle of lemon zest in the cream cheese adds a pop of brightness that makes everyone wonder why it tastes extra-special. Sometimes I’ll swap half the sugar for brown sugar in the topping for a deeper caramel vibe, or serve the bars alongside fresh berries for a twist on tradition.
Making Ahead And Storing
They set up beautifully in the fridge, which means you can make them a day early if you’re pressed for time. In fact, I think they’re even tastier chilled overnight and cut cold. Bars keep well in an airtight container for up to 3 days, and leftovers rarely last that long.
- Let the bars cool fully before storing to avoid condensation.
- A quick warm in the microwave brings back the bakery-fresh taste.
- Be sure to line the pan with parchment if you want easier cleanup.
 Save
Save However you serve them, these bars bring big smiles in exchange for little effort. Here’s to sharing something sweet and simple, one piece at a time.
Recipe FAQs
- → Can I use a different dough instead of refrigerated crescent sheets?
Yes. Puff pastry or homemade crescent-style dough can be used; puff pastry will be flakier while homemade dough offers more control over butter content. Adjust roll thickness and watch baking time.
- → How do I avoid a soggy bottom layer?
Press the bottom dough firmly into the pan and spread the filling evenly. Ensure the filling isn't too loose, bake until the center is set, and allow the bars to cool fully before cutting to firm up the base.
- → Can these bars be frozen and how should I thaw them?
Yes. Cool completely, wrap tightly in plastic and foil or use an airtight container, and freeze up to 2 months. Thaw overnight in the refrigerator and bring to room temperature or warm briefly before serving.
- → Will low‑fat or light cream cheese work in the filling?
Light cream cheese or Neufchâtel will work but may yield a slightly softer, less rich filling. Chill the filling briefly before spreading to help maintain structure while baking.
- → How can I make the cinnamon-sugar topping extra crisp?
Brush the top dough with melted butter generously before sprinkling the cinnamon-sugar and consider a second light brushing after the first sprinkle. A quick broil at the end (watch closely) can add extra browning.
- → What are nice serving options or garnishes?
Serve warm or chilled with fresh berries, a drizzle of honey, a dollop of whipped cream, or a scoop of vanilla ice cream to complement the cinnamon-sugar notes.