 Save
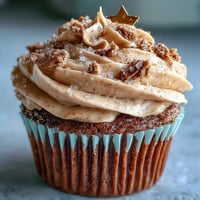
Save My friend texted me three weeks before her daughter's graduation asking if I could make something special for the celebration—nothing fancy, just something that felt thoughtful. I found myself scrolling through dessert ideas at midnight when it hit me: what if I made tiny cheesecakes that actually looked like they were going to graduation too? The idea of those little diploma picks planted in creamy bites made me smile, and I knew I had to try it. Turns out, these mini cheesecakes became the unexpected star of the party, and now I make them for every milestone that calls for something both celebratory and a little bit silly.
I'll never forget watching everyone at that graduation reach for a second one, then a third. One uncle actually asked if there was a secret ingredient—there wasn't, just good timing and the fact that something so small could taste so legitimately good. That moment taught me that sometimes the most memorable dishes aren't complicated; they just need to arrive at the right celebration feeling like they belong there.
Ingredients
- Graham cracker crumbs (1 cup, 100 g): The foundation that keeps everything grounded—literally and emotionally. I learned to pulse them myself rather than buy pre-made because you get better texture and they taste fresher.
- Granulated sugar for crust (2 tbsp, 25 g): A small amount adds sweetness without overwhelming the buttery flavor.
- Unsalted butter, melted (4 tbsp, 60 g): This is what makes the crust actually taste like something instead of just holding the filling up.
- Cream cheese, softened (12 oz, 340 g): Room temperature cream cheese is non-negotiable—cold cream cheese leaves lumps that no amount of beating fixes.
- Granulated sugar for filling (1/2 cup, 100 g): The sweet backbone that makes it taste like cheesecake and not just cheese.
- Large egg (1): Acts as a binder and helps the filling set without being heavy.
- Vanilla extract (1 tsp): A small amount that rounds out the flavor and makes people wonder what you did differently.
- Sour cream (2 tbsp, 30 ml): This is the secret that keeps the filling from being too dense—it adds tang and texture all at once.
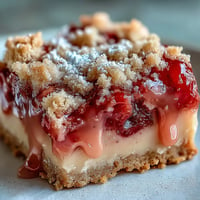
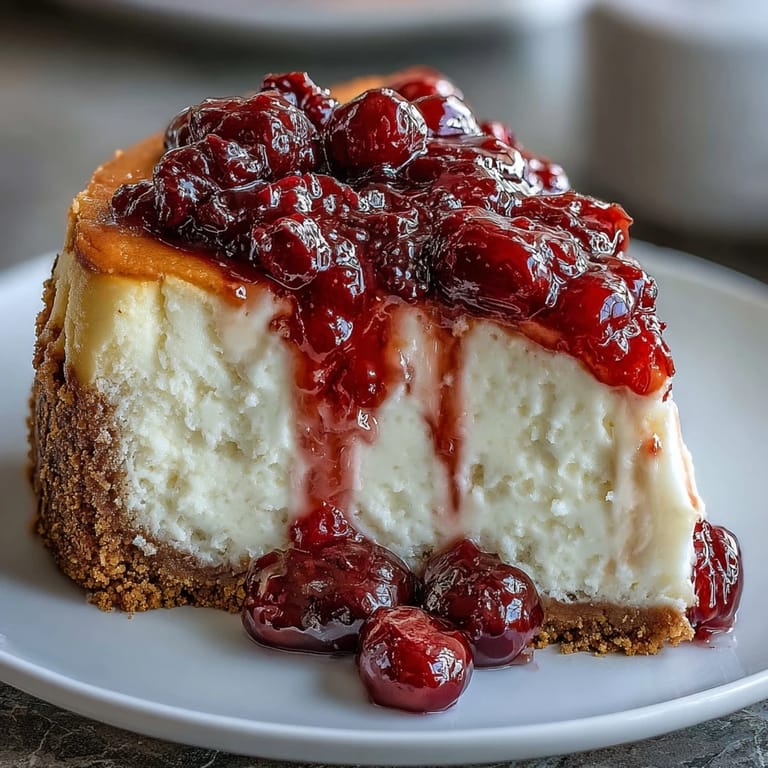
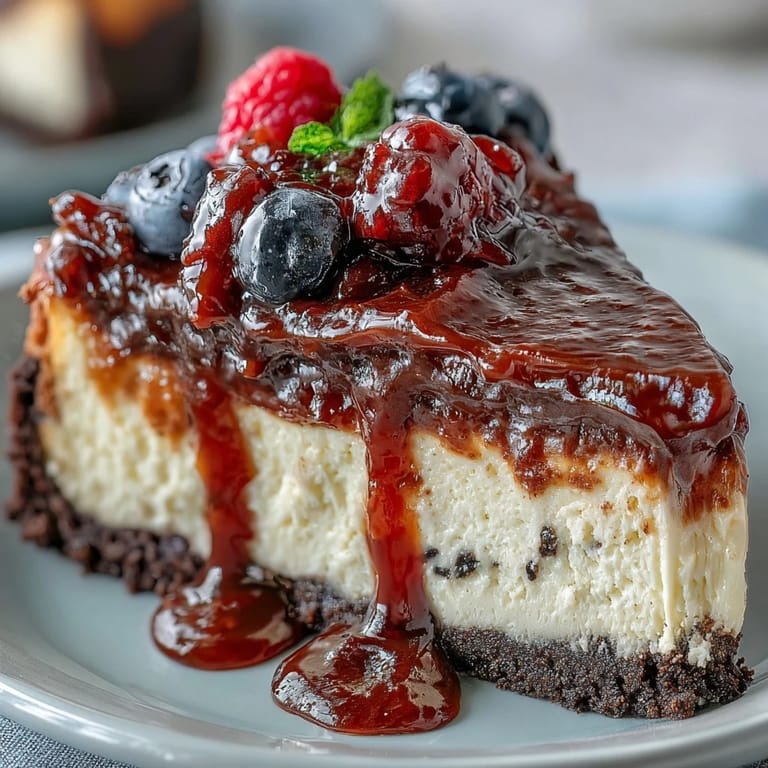
- Fresh mixed berries (1/2 cup, 75 g), diced: Blueberries, raspberries, or strawberries brighten the whole thing, and their acidity plays beautifully against the cream.
- Fruit preserves, optional (2 tbsp): A light brush of warmed preserves makes the berries shine like they're wearing tiny crowns.
- Graduation diploma picks: The touch that transforms these from dessert into celebration.
Tired of Takeout? 🥡
Get 10 meals you can make faster than delivery arrives. Seriously.
One email. No spam. Unsubscribe anytime.
Instructions
- Get your oven ready and line everything up:
- Preheat your oven to 325°F (160°C) and fit 24 mini cupcake liners into your muffin pan—this gentle temperature keeps the cheesecakes from cracking. Having everything in place before you start mixing makes the whole process feel less frantic.
- Build that buttery crust:
- Mix your graham cracker crumbs, sugar, and melted butter in a bowl until it looks like wet sand. You want it damp enough to hold together but still feeling like actual crumbs, not a paste.
- Press the crust into place:
- Spoon about 1 teaspoon of crust mixture into each liner and press it down firmly with the back of a small spoon—a measuring spoon works perfectly for this. The pressure matters because you're building a base that actually stays put.
- Give the crust a head start:
- Bake the crusts alone for 5 minutes, then pull them out and let them cool slightly while you make the filling. This short bake helps them set and become crisp rather than soggy.
- Cream your cheese until it's cloud-like:
- Beat the softened cream cheese and sugar together until they're smooth and pale, which takes about 2 minutes. When you stop and look at it, you should see something that looks actually creamy, not lumpy.
- Fold in the delicate stuff:
- Add your egg, vanilla, and sour cream, beating just until everything blends together—overmixing here introduces air bubbles that can make the tops crack. Mix until you see no streaks, then stop.
- Fill each cup generously:
- Spoon about 1 tablespoon of filling over each cooled crust, smoothing the tops gently so they bake evenly. They should look full but not overflowing.
- Bake until the centers barely jiggle:
- Bake for 13 to 15 minutes—the edges will be set and the centers will still have a tiny bit of movement. This is the sweet spot between cooked and creamy.
- Cool them in stages:
- Let them cool in the pan for about 15 minutes, then transfer them to a wire rack. This gradual cooling prevents thermal shock cracking.
- Chill them until they're ready:
- Refrigerate for at least 1 hour—this is when they actually become cheesecake and lose that slightly warm, slightly soft texture. Overnight is even better if you have the time.
- Dress them for the occasion:
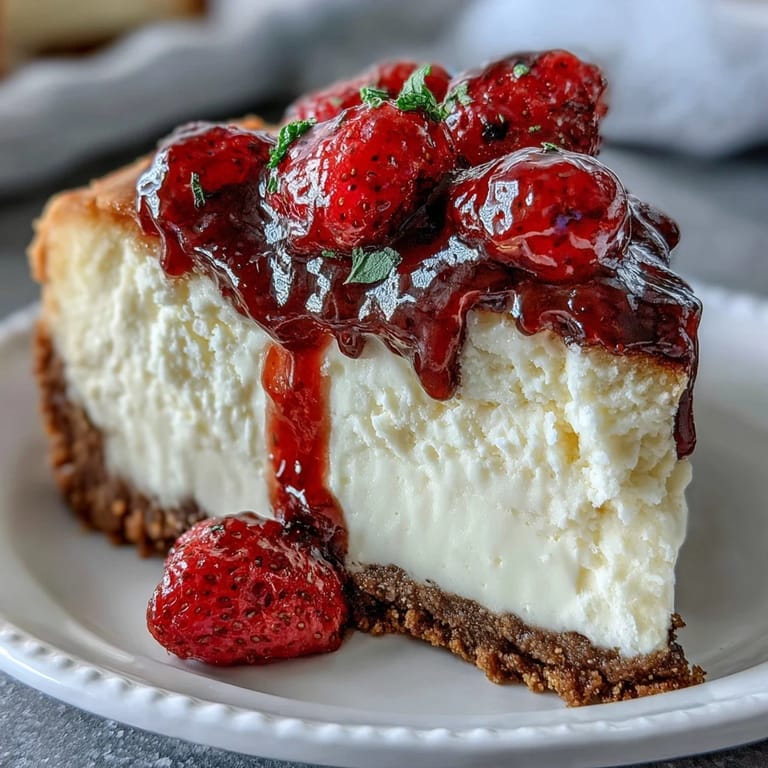
- Top each bite with a few fresh berries and, if you want that restaurant finish, brush them lightly with warmed fruit preserves. The preserves add shine and a subtle gloss that makes them look intentional.
- Add the celebration touch:
- Just before serving, gently insert a diploma pick into each bite—it's the moment when these become something more than dessert.
 Save
Save What surprised me most was how these tiny things became a conversation starter. People kept asking if they were homemade, and there was something special about saying yes and watching their faces light up. It wasn't about impressing anyone—it was about showing up to a celebration with something made with actual thought and care.
Why These Work for Every Celebration
Mini cheesecakes have this interesting power—they feel fancy and intentional without requiring you to be a professional baker. The individual size means everyone gets their own perfect portion, and there's something deeply satisfying about that.
Storing and Planning Ahead
These are built for advance planning, which is honestly half the reason I make them. You can bake them up to a day ahead, keep them refrigerated in an airtight container, and then top and decorate them on the morning of your event. They stay fresh and creamy for up to 3 days, so there's actual breathing room between cooking and serving.
Making Them Your Own
I've played around with variations—a tiny bit of lemon zest in the filling adds brightness, and a drizzle of dark chocolate on top turns them into something entirely different. You could also swap the fruit topping for a small dollop of caramel or even a tiny spoonful of lemon curd if that's where your taste goes.
- Try adding lemon zest to the filling for a subtle tartness that plays against the sweetness.
- A tiny drizzle of melted chocolate over the berries makes them feel even more intentional.
- If you're making these for something that isn't a graduation, any pick or decoration works—birthdays, promotions, the day someone finally learned to bake.
 Save
Save These little bites taught me that celebration food doesn't need to be complicated to feel special. What makes them memorable is showing up with something thoughtful, bite-sized, and delicious enough that people actually reach for seconds.
Recipe FAQs
- → What type of crust is used?
A buttery graham cracker crumb crust forms the base, pressed firmly into mini muffin liners and lightly baked before adding the filling.
- → How long should I chill the bites?
Chill the cheesecake bites for at least one hour in the refrigerator to ensure they set properly and hold their shape.
- → Can I add different toppings?
Yes, fresh mixed berries are suggested, but you can also use fruit preserves or experiment with lemon zest and chocolate swirls for added flavor.
- → Are there alternatives for gluten intolerance?
Gluten-free graham crackers can be used in place of regular ones to make gluten-free bites suitable for sensitive diets.
- → How do I prevent the topping from sliding off?
Brushing a thin layer of warmed fruit preserves over the berries helps them stick better and adds a glossy finish.